For many students, university life is the first taste of real independence, especially if you’re moving out of the family home. It can be a learning curve to pick up the right habits and gain some life lessons that can set you up for fully-fledged adulthood.
That’s why we’ve put together a university essentials guide to give any students some helpful DIY tips to send them on their way. From reading a gas or electric meter, to knowing when to bleed a radiator – we’ve got all the student repairs tips you need!
Skip to:
- How to read a gas and electric meter
- How to unblock a toilet
- How to unblock a bath or shower
- How to get rid of kitchen sink smells
- How to bleed a radiator
- What repairs are tenants responsible for?
- What repairs are landlords responsible for?
- How to prevent end of tenancy charges
What tools do I need to take to uni?
We appreciate that a toolkit might not be top of every student’s list, but having a few tools to hand may be really useful in some situations.
You’ll find that most hardware stores will do a starter toolkit which will include all the essentials for university life. But ideally, you’re likely to need:
- Hammer
- Adjustable screwdriver, including flathead and Phillips bits
- Adjustable spanner
- Tape measure
- Set of allen keys
- Scissors
- Pliers
- Spirit level
- Plunger
- Gloves
- Radiator Key
Obviously it’s not critical that you have these tools. In many cases you’ll find that student accommodation will have maintenance people or a helpful landlord for bigger jobs, but they can come in handy when you’re in need of a quick fix.
How to read a gas and electric meter
One job you’re unlikely to need any tools for at all, and a job that you’ll no doubt need to do in the future, is taking meter readings.
It’s a good idea to know how to read your meter because you can keep an eye on the energy you use and make sure your bills are accurate.
Depending on the age of the meter, you might come across different types for gas or electric. More modern styles can be controlled through an app, although this might not be the case in all student accommodation. So, we’ve put together a few simple steps to help you understand how more common meters work.
Reading a gas meter
Digital meters
Gas meters are displayed using imperial or metric units. Imperial meters have 4 main digits and metric meters have 5 – although, both are still recorded in very similar ways.
How to read an imperial meter:
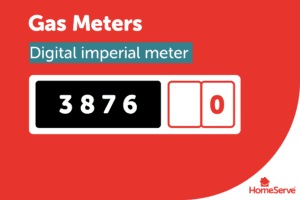
- Read the first four numbers from left to right.
- Include any zeros at the beginning, but don’t include any numbers in red, or anything after a red number.
- If your meter has reached 9,999, it’ll start from zero again.
How to read a metric meter
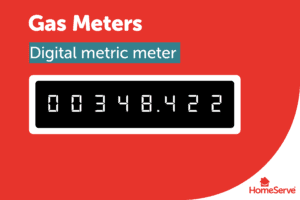
- Read the first five numbers from left to right.
- Include any zeros at the beginning, but don’t include anything after a space or decimal point.
- Once your meter has reached 99,999, it’ll start recording from zero again.
Reading your electricity meter
Digital meters
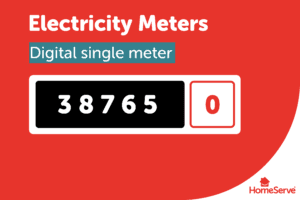
If you have a digital electricity meter it will clearly display it on the screen. Here’s how you can read it:
- Read your meter display from left to right.
- Ignore any numbers in red and anything that appears after a decimal point or space.
Economy 7/Domestic Economy meters
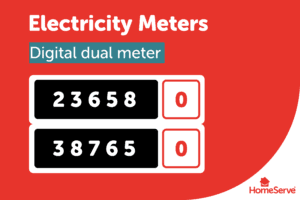
If you’ve have a Economy 7 or Domestic Economy meter, there will be two rows of numbers on your digital display:
- ‘Low’ is the reading for night or off-peak units.
- ‘Normal’ is the reading for day or peak-time units.
You read your meter the same as a standard digital electricity meter.
Repairs in university accommodation
Moving into student accommodation can be a stressful time. The last thing you need is additional worries when things don’t work like they should do.
Obviously there are some jobs that will need a qualified professional, but there are a few jobs that you can potentially do yourself.
Can I fix it myself or should I get a professional to fix it?
If you’re inexperienced with DIY, even doing some of the smaller jobs can feel a bit daunting. This will usually come with a bit of practice, which is why we’ve provided some of the more “lighter touch” jobs that you’ll be able to take care of, should they crop up.
4 of the best student repairs tips
1) How to unblock a toilet
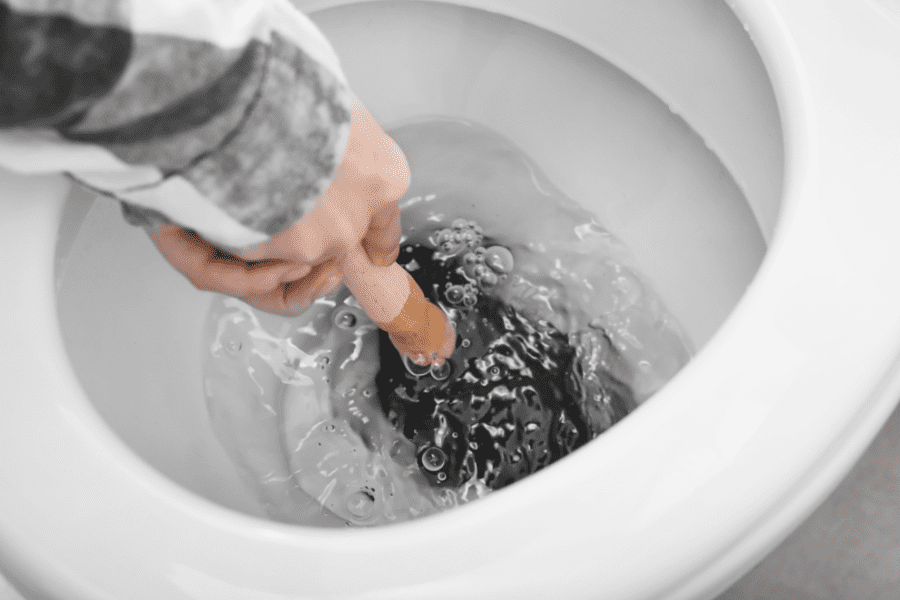
A blocked toilet isn’t uncommon, especially in a shared bathroom. The real trick is not to panic and of course, keeping clean!
As long as you have rubber gloves and a plunger (honestly, it’ll come in handy), you’ll be absolutely fine. If you don’t, then there’s also other methods you can use, including: washing up liquid, a plastic bottle, clingfilm or even a coat hanger.
Whatever your method, the idea is that you create a vacuum to release the blockage and get your toilet in full working order.
You can find out more about this in our dedicated guide to unblocking a toilet.
2) How to unblock a bath or shower drain
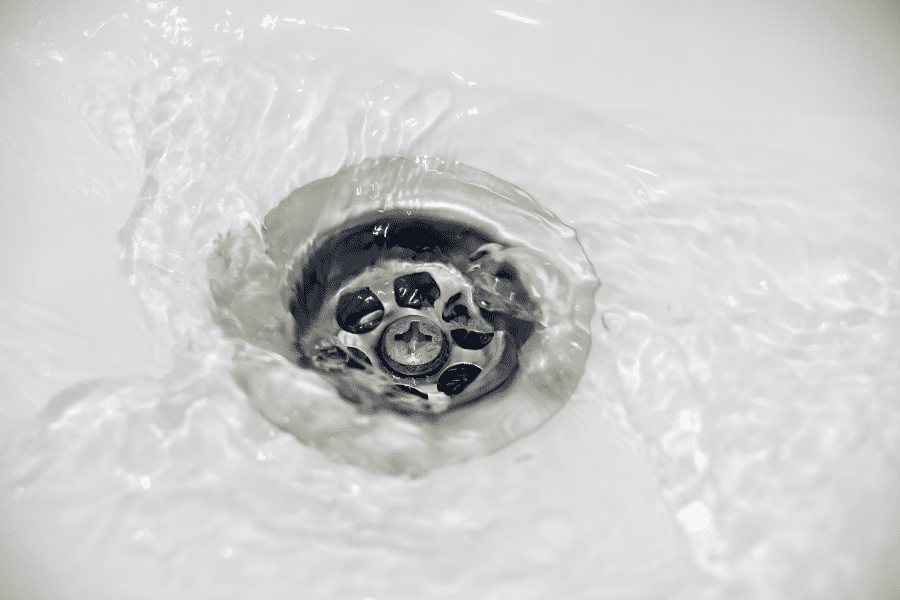
Much like a blocked loo, the shower can often get clogged and leave you in a bit of a panic if your bathroom gets covered in soapy water.
The most common problem is strands of hair getting stuck in the plug hole causing a blockage. Blockages can also occur if there’s a bit of residue or something similar that needs shifting.
In this case there’s a few things you can do. You can try using the trusty plunger, hot water or physically removing it yourself. There’s a home remedy of baking soda and vinegar, or you can always buy a chemical drain cleaner.
Either way there’s a few methods you can try, and you’ll find them all in this guide to unblocking your bath or shower.
3) How to get rid of kitchen sink smells
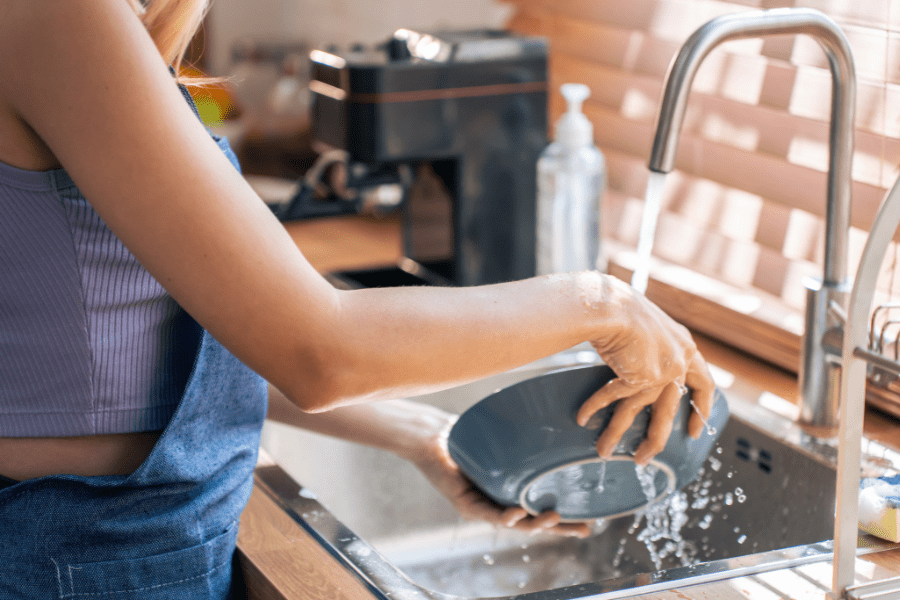
Student kitchens aren’t really known for their five star food rating, but that doesn’t mean you want it stinking the place out.
The main reason your sink will be smelling is a build up of food or a lack of water in your U-bend. This can cause smells from the drain or sewer to rise up.
There’s a few home remedies that will work like hot water, baking soda or vinegar. There’s also a number of chemical cleaners you can buy that will get rid of any wanted whiffs.
If you’ve got more of a pungent smell, you might want to read our guide in full on how to remove your kitchen sink smells.
4) How to bleed a radiator
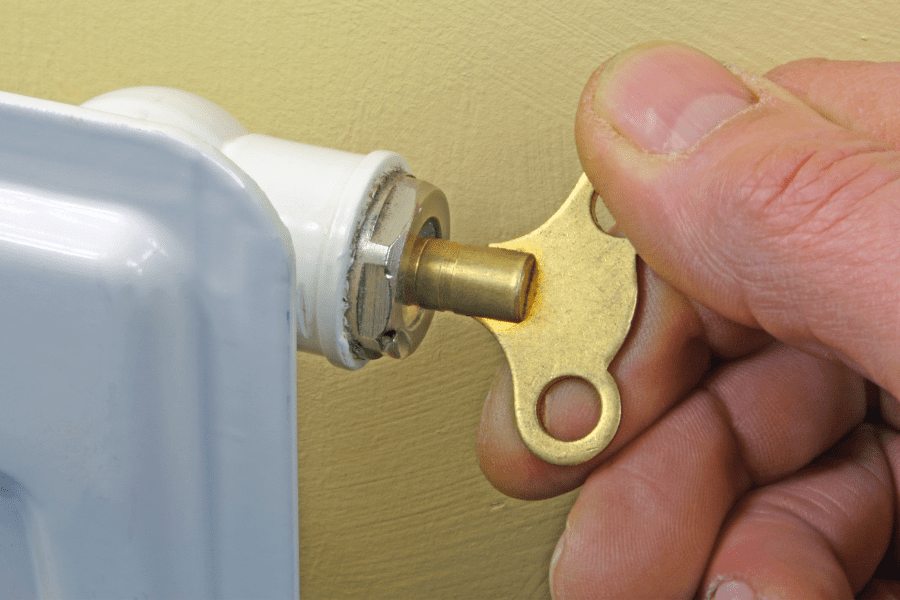
If you’ve put the heating on and you’ve found that your radiator has cold spots, then there’s a high chance that bleeding your radiator might help.
It may sound like a technical job, but it can be done easily by following these 7 simple steps:
- Turn off your heating and wait for the radiators to cool so they’re not too hot to touch.
- Place a cloth below the radiator bleed valve.
- Locate the radiator bleed valve and ensure that a cloth or a bucket is placed below it to catch any water that may be released. Bleed valves are typically located at the top corner of a radiator and look like a round hole with a square inside.
- Insert the radiator key and turn it anti clockwise. You should hear a hissing sound as the air escapes.
- Turn the radiator key clockwise to close the valve when the hissing stops and water starts to leak out.
- Repeat this process for any of the radiators that need bleeding in your home.
- Check the boiler pressure. Bleeding radiators can sometimes lower your boiler pressure so be sure to check this after you’ve finished bleeding your radiators! If you have low boiler pressure you’ll need to repressurise your boiler.
For a full explanation or if you have any questions, you can take a look at our guide to bleeding radiators.
What repairs are tenants responsible for in student accommodation?
Like any tenancy, as a student you’re responsible for any minor repairs and generally keeping on top of the cleaning. You’re responsible for any damage that gets caused, using the fixtures and fittings properly, and of course your own belongings.
You’re also responsible for letting your landlord know of any repairs that need doing and allowing access to the property for any work to go ahead.
What repairs are a landlord’s responsibility in student accommodation?
Your landlord is responsible for most repair work because the law, section 11 of the Landlord and Tenant Act 1985, implies a term on repairs into every tenancy agreement even if the agreement is not in writing.
It means that your landlord is responsible for repairing:
- The structure and exterior of your home, for example, the walls, roof, foundations, drains, guttering and external pipes, windows and external doors
- Basins, sinks, baths, toilets and their pipework
- Water and gas pipes, electrical wiring, water tanks, boilers, radiators, gas fires, fitted electric fires or fitted heaters.
Your landlord also has specific responsibilities for gas and electrical safety, furnishings and asbestos, which should be explained within your tenancy agreement.
How to prevent end-of-tenancy charges
Your landlord or agent should refund your security deposit in full at the end of your tenancy unless they have a reason to make deductions.
The main things to look out for are:
- Returning the property in a similar state to when you moved in
- Any deductions must be reasonable and reflect actual costs to the landlord
- Your landlord cannot keep your deposit for damage caused by fair wear and tear
- Landlords and tenants often disagree on what counts as fair wear and tear.
What is fair wear and tear?
Wear and tear means unavoidable change in a property over time. It is caused by normal everyday living and is not the fault of the tenant. For example:
- Small scuffs on walls
- Faded curtains or furniture
- Worn flooring or frayed carpets
Top tip: It’s a good idea to take pictures of any damage or problems that exist when you move in. This way you can raise them with your landlord to get fixed, or you’ll have proof that they were there when you moved in when it comes to the end of your tenancy.
Know a uni student that this guide might help?
Here at HomeServe we’re all about looking after the home, so if you know a student heading off to uni this year, why not give this article a share over WhatsApp, on Facebook or via Twitter? It could save them from a smelly sink, or even worse, a blocked bog disaster!


